Bring Your Dog To Thailand!
Leaving our dog, Odie, back home was definitely not an option for us. I’m assuming since you are reading this leaving your dog isn’t an option for you either. Believe me when I say it was stressful digging through websites, emailing embassies, and watching every dog travel vlog out there! Thailand loves to make things confusing, and in the blog world, we really found nothing but vague content that leaves you asking more questions. We now write this article with a passion for being the exception. We never want anyone to experience the confusion and missteps we did. It CAN be effortless to bring your dog to Thailand. All you need to know is how. Don’t worry! We got you!
Requirements for Import into Thailand
• At Least 4 Months Old and Not Pregnant – Sorry, but your furry friend has to be at least 4 months old and can not be pregnant.
• Microchip – Before you bring your dog to Thailand, he or she will need to be microchipped. Make sure to have an ISO 11784 pet microchip that is15 digits long. Also, remember to get your pet microchipped BEFORE your vaccinations. Any vaccination administered after the microchip will be invalid.
• Vaccinations – There are 5 different vaccinations you will need before your dog is allowed into Thailand. All of these vaccines have to be administered at least 21 days before departure.
- Rabies
- Distemper
- Hepatitis
- Parvovirus
- Leptospirosis – You have two choices on this one: a) you can vaccinate your dog against Leptospirosis OR b) you can test your dog for Leptospirosis and receive a negative result during the 30 days before departure.
Remember to always have an extra copy of your vaccine status report on you at all times.
• Import Permit – This can be very confusing given that almost all websites you check will tell you something completely different. The Thailand Embassy in Washington D.C. claims that the Bangkok Animal Quarantine Station requires an import permit filled out and emailed to qsap_bkk@dld.go.th. This should be done within 60 days but not less than 14 days before the departure date. Here is a link to the application. You will also have to attach the following:
- Scanned photo of the traveler’s passport
- Color photo of the pet with its face clearly shown
- Pet passport or vaccination book, particularly the page signed/endorsed by the veterinarian
- Microchip implanted certificate
- Blood test certificate for the immune response against rabies (Your Rabies Certificate needs to be signed by your veterinarian. This is a separate document from your other vaccination status document.)
You should keep all of these documents and have them with you when you arrive in Bangkok.
*Our Experience – We tried to send off our import permit multiple times, and they never responded to our emails. This made us very stressed, thinking that we would not be able to pass through the airport with Odie. Fortunately, when we got to the quarantine station in Bangkok, they signed our paperwork and let us go through with no mention of needing to have an import permit approved ahead of time.
We did have our Import Permit Application and all of our documents ready and properly filled out. I highly recommend sending the Import Permit Application email to be on the safe side, but I wouldn’t worry if they don’t respond. Just have all of your paperwork with you when you arrive, and you should be good to go.
• Rabies Vaccination Certificate – This document will provide your dog’s information including:
- Name
- Species
- Breed
- Sex
- Color
- Weight
- Birthdate
It also includes the rabies vaccination information:
- Date of vaccination
- Date when vaccination is due
- Microchip number
- Duration of vaccine
- Manufacturer
- Lot/Serial Number
- Lot Expiration
- Tag number
Remember the Rabies Vaccination Certificate is an entirely separate document from your vaccination status report and must be signed by your veterinarian.
• Health Certificate – Here is The Official Health Certificate specifically for Thailand. APHIS (United States Department of Agriculture) will not accept anything different. Believe me; it can get very confusing! The health certificate has to be filled out in BLUE INK and issued by a USDA accredited veterinarian. Remember that the Health Certificate is only valid for 10 days after it is signed and dated.
Next, you will have to get your health certificate stamped at a USDA APHIS office. You can mail it or visit an office that will allow a walk-in (not all do). If you are mailing it, get your health certificate 9 or 10 days before your flight because the mail takes time. It will need to be expedited, include a prepaid return envelope and the $38 fee. Here is a useful link to help you find a USDA APHIS Office near you. You can go to any office. It does not need to be one in your state.
USDA APHIS Health Certificate Requirements:
- Original Health Certificate (filled out with BLUE INK)
- Rabies Vaccination Certificate with Microchip number and signed by your veterinarian
- Payment of 38.00 USD (can pay with a check, money order payable to USDA, or credit/debit card)
• Well Groomed – When you bring your dog to Thailand, you will definitely want to take them to a groomer or at least make sure they’ve had a bath and look presentable. You wouldn’t want to upset anyone or give someone a reason to report you. If your dog is riding in the cabin, be mindful and don’t ruin this privilege for the rest of us.
Also, keep in mind that Thailand is hot, and get your dog a haircut. The temperature change can be stressful for an animal. But don’t worry, they will adjust.
Travel Gear to Have When You Bring Your Dog to Thailand
Trust me, having the right travel gear will make your trip so much easier for you and your pup.
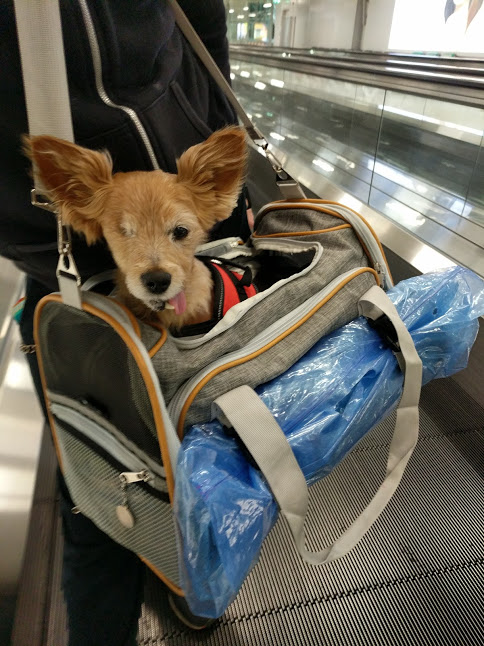
• Travel Crate – The right travel crate is essential, and you always want to check the requirements for your specific airline. It’s always a good idea to crate train your dog before your flight, so they feel comfortable while being transported. Whether your dog is traveling in the cabin or flying in cargo will determine what kind of carrier you need.
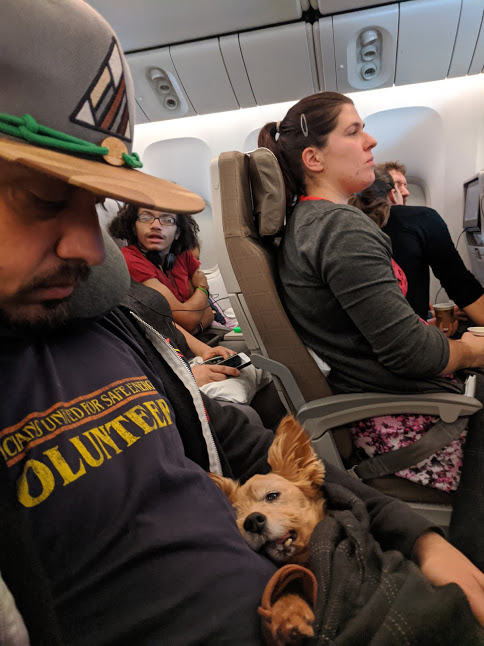
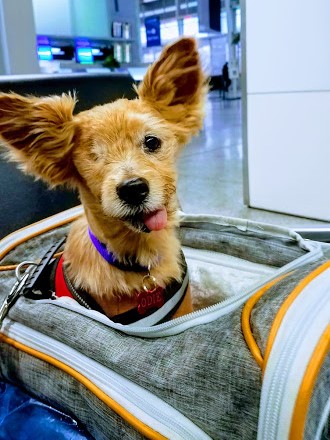
- In-Cabin: You will want a soft crate that can fit under the seat. For Odie, we did lots of research and finally decided on a Mr. Peanut’s brand airline-approved carrier. We love that they are sturdy, have mesh windows, and expandable sides. We highly suggest checking them out!
- In Cargo: You will need a hard crate with a water and food dispenser. Check your airline for specific dimensions.
• Travel Bowl – I like to travel with a collapsible bowl that is made from silicone.
• Travel Meals – If you feed your dog kibble, then you can tuck some away in a baggy, but if you’re like me and like to give your dog soft or raw food, then I recommend a freeze-dried meal. It won’t spoil and is easy to travel with. We used Primal Pet Foods INC. It is a raw food brand and has a lot of options to choose from.
• Treats – All the treats, please! When you need your dog to pay attention to you and not everything around them, treats are key. The airport can be very stressful, but a treat will help keep them calm. Treats with pet calm ingredients are a big plus!
• Doggy Water Bottle – Always have plenty of water with you. I mean, it’s only the key to life. You can get them their own doggy water bottle with a lid that turns into a bowl!
*Hot Tip – You should remember to time your meals for your dog accordingly. You don’t want to give your dog a lot of water and food right before the flight. We suggest feeding your pet 4 to 5 hours before your plane takes off to avoid upset stomachs and being minimal about water to avoid full bladders.
• Fake Grass Pee Pad – Having a fake grass pad will come in handy if your dog has “to go” while on the plane. You will need to roll your fake grass pad down in the bathroom. Some fake grass at pet stores will come with a reusable pee pad underneath, or you can get disposable pee pads separately.
You should train your dog to use this fake grass pad before your journey. Spraying your pad down with a pheromone spray will make a world of difference.
• Biodegradable Poop Bags – When bringing your dog anywhere in public, you never know when they will need “to go.” So I always like to have some biodegradable bags on hand to clean the mess.
Biodegradable bags are hard to find abroad, so stock up before you leave! Always be mindful of your surroundings and be a responsible dog owner.
• Organic Pet Calm Medication – You can find some pet calm meds at almost any pet store. Make sure to find the one with these ingredients: Valerian, Chamomile, Passion Flower, or Skullcap Extract.
We always want our dog to feel as calm as possible when going through a chaotic situation like flying. Just remember not to give them any tranquilizers or other pharmaceutical drugs which could cause harm while in the air.
• Chew Toy – Having some chew toys for your pet is another great way to keep your dog calm and anxiety-free. You have to remember that traveling is as stressful for dogs as it is for us.
Before you Book a Flight
• Pick a Flight- When looking at an airline, closely go over their specific requirements to make sure you are happy with their policies. Not every airline allows pets to fly in the cabin.
• Layovers – It is best to try and find short layovers. Different countries have different rules for animal transport. Some require you to follow the import rules for their country even though you are not staying. This is rare but does happen.
Make sure you do not need to check your pet in again during your layover. Some countries have other requirements. Taiwan, for example, requires that you fill out a transfer permit. Also, consider if the airport has a pet relief area.
• Pet Relief Area – Always know where the pet relief areas are located in each airport. Pet relief areas are not always available. So, if you can, try to book flights with pet-friendly airports. When a pet relief area is not available, you will need to take your pet to the bathroom with your fake grass pee pad.
• Call the Airline – When you think you’ve found the perfect flight, call the airline and tell them that you are bringing your dog. Some airlines limit the number of dogs they allow per flight. You should book with them right over the phone. After you book the flight, you may want to call yet again and double-check that everything is squared away for your dog to come on board.
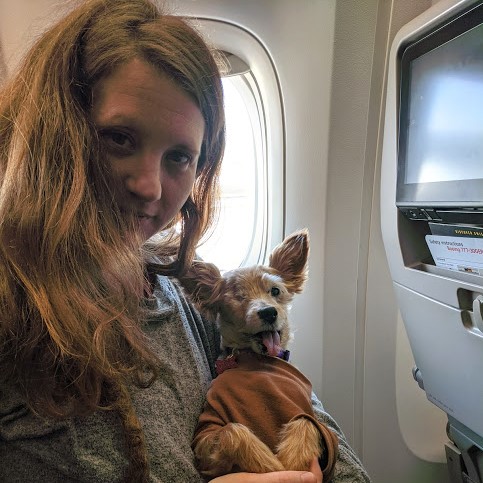
• Emotional Support Animal – If you suffer from any anxiety or mental disorder that makes flying difficult for you, consider getting approved to take an Emotional Support Animal. This is different than a Service Animal, where your pet will need to pass a test.
With an ESA letter, you can have your pet with you in the cabin no matter its size, they don’t need to be crated, and the airline can not charge you extra fees.
Emotional Support Animal Requirements:
- To get an ESA letter you need to visit a doctor or licensed mental health professional. A letter from a doctor is all you need. Do NOT buy anything online from sites claiming you need a certificate. You don’t need one and they’re a scam.
- Every airline has different requirements. Some want your letter to say specific things and others do not. Always double-check.
• At the Airport – Always give yourself plenty of time and be prepared. I have realized that sometimes things don’t always go as planned in an airport. Planning things ahead of time will always benefit you and save you a huge headache. And always remember to be at the airport at least 2 – 3 hours before you fly. You want plenty of time to fix a situation if one occurs.
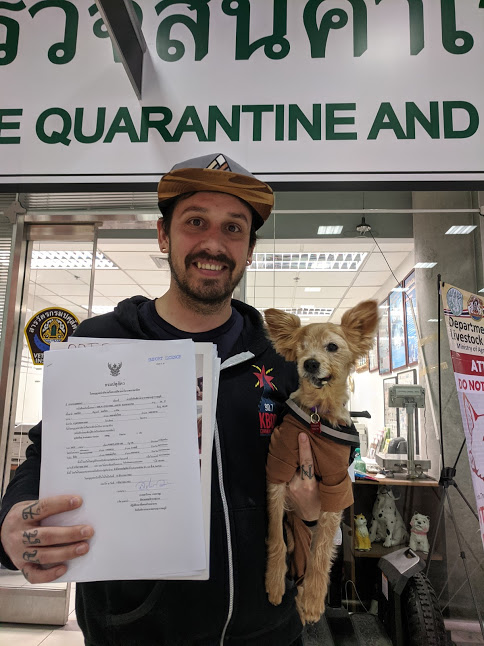
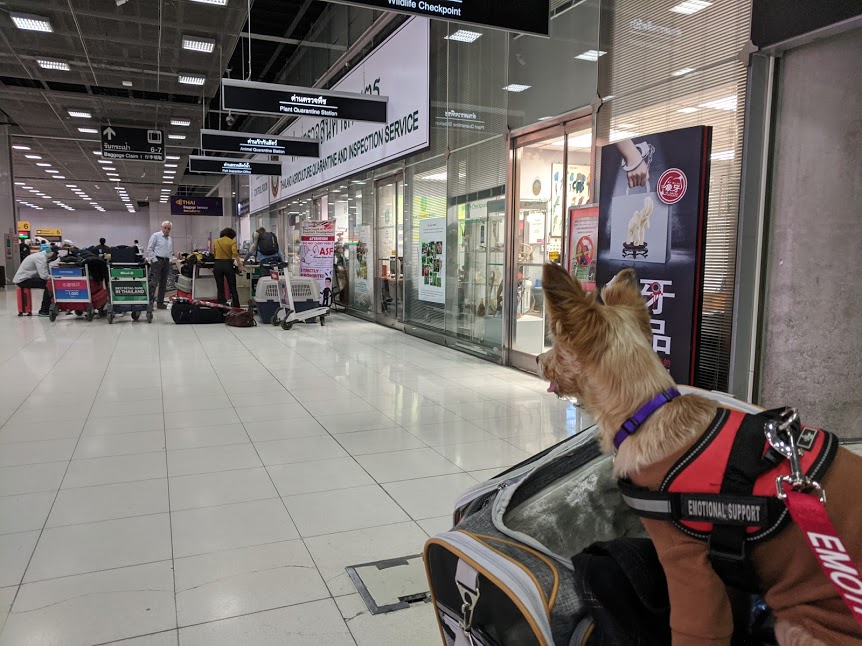
• Suvarnabhumi Airport Animal Quarantine Station Location – If your dog was able to fly in cabin then it is pretty easy to locate the AQS. As soon as you get to the baggage claim carousels you will turn right. The AQS will be located next to carousel No. 8 in the arrival hall. If your dog traveled in cargo then you will have to go to the 1st floor of CE-1 Building, Duty-Free Zone.
After visiting the AQS and you pay a fee of 500 Baht then they will issue you a Notice of Import Approval form and an Import License form. Remember to keep these forms as you will need them to exit the airport.
I hope that this post helps you and your dog have the most stress-free flight. I wish I would have had all of this information when I was preparing Odie for his flight to Thailand!